Like most stylists I know you probably have a Facebook account. You’ve probably friended some clients and once in a while post an update about your work, but get a bit weirded out by the lack of personal / work separation and don’t really know how to use Facebook to improve your business. Well, it’s time you created yourself a Facebook Page.
Facebook pages are a great way to communicate with customers as well as a terrific marketing tool. Unlike your personal profile your page is visible to anyone on the Web and your clients can like (follow) your page without interacting with your personal profile.
So, let’s look at how to set up a Facebook Page for your salon.
First, open up Facebook and log into your account if necessary.
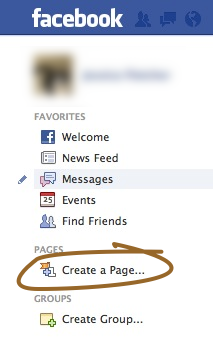
Next, click the “Create a Page …” link located in the left hand navigation:
If you can’t find that button the you can create a Facebook page here
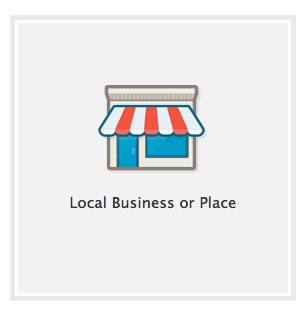
Click on the Local Business or Place image:
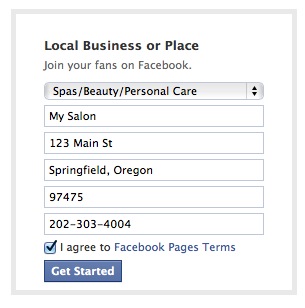
Select the “Spas/Beauty/Personal Care” category and enter your business’ details:
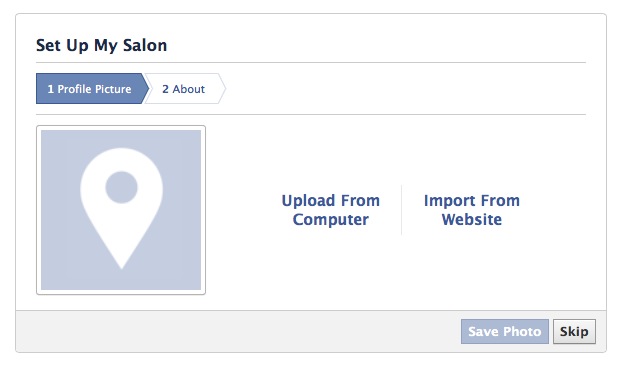
Then click the “Get Started” button. This will bring up the following screen where you can set a profile picture for your salon’s page:
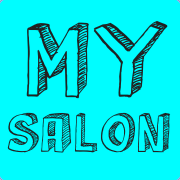
Your profile picture should be an square image 180 pixels x 180 pixels in size. Most square images will work well so long as they are bigger than 180 x 180, anything smaller than that will be blurry and pixelated. Here is the image I created for this:
Because I am uploading this image from my computer I click the “Upload From Computer” link, select my file and click choose /ok.
Then I click the Next button at the lower right of the screen:
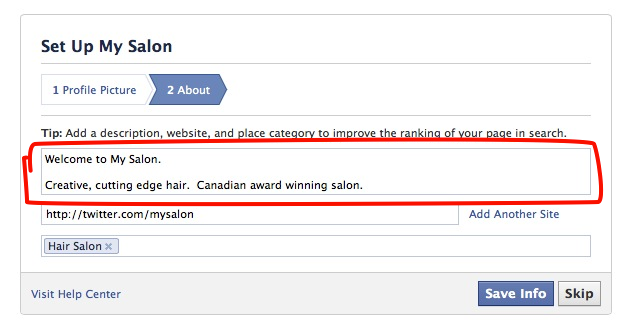
Facebook will now ask us for a quick description of our salon. Enter an amazing write up of your salon in the main text box:
Facebook allow you to link to some other Websites and social profiles you have. I would recommend adding in links to any sites and social media profiles you have as well.
Some good things to link to are:
- Your Website
- Twitter account
- Pinterest account
- LinkedIn account
- Yelp page
To add a link just type the address (url) of the site/social profile into the box provided. If you have several sites to add just click the “Add Another Site” link:
When you are done adding all your other sites click the “Save Info” button at the bottom of the screen:
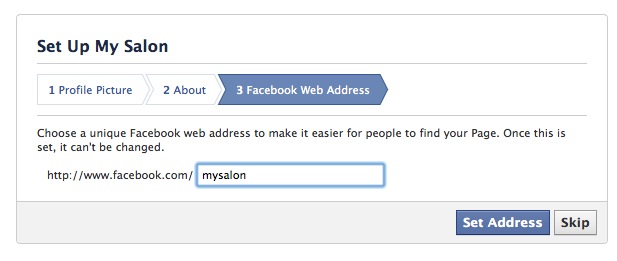
You will now be asked to chose a “Facebook Web Address”. This is the address that you can tell clients and friends to visit, or that you can link to from your Website. You’ll want to pick something nice and short and simple, that makes sense with your salon name. In my example I am choosing “my salon”. So the address I would give to clients is: www.facebook.com/mysalon .
Oh bugger , it looks like someone has already chosen that name:
In this case you have to be a little creative.
If “mysalon” was taken I could try:
- mysalonnyc
- mysalonusa
Simply enter your desired address in and click the “Set Address” button:
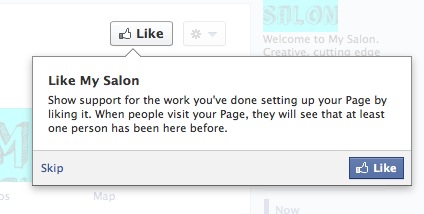
Facebook will now suggest you like your page. You created it so hopefully you do like it, let’s click that like button!
Then it will ask you to invite your friends:
This is a great idea! Let’s share your new page with some of our friends to get the ball rolling.
To do this:
Open your Page’s admin panel at the top of the screen:
Click Build Audience 
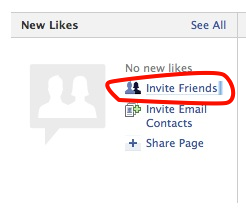
Click Invite Friends at the lower left of the admin panel:
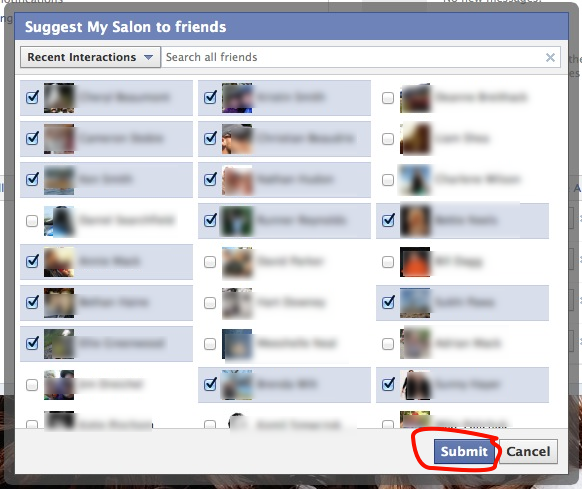
Select the checkbox beside the friends who you think would like your new salon page. Definitely add clients, friends and good ole mom! Then click the submit button:
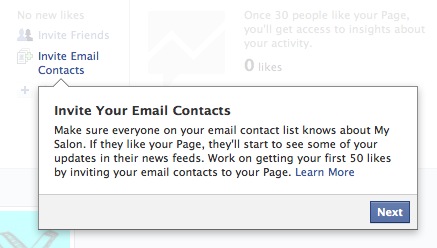
Facebook with then ask you to invite your email contacts. This can be a great tool if you have the email addresses for some of your clients (which you do if you use salonMonster 😉 )
To import emails, open your admin panel, click Build Audience and select Import Email Contacts.
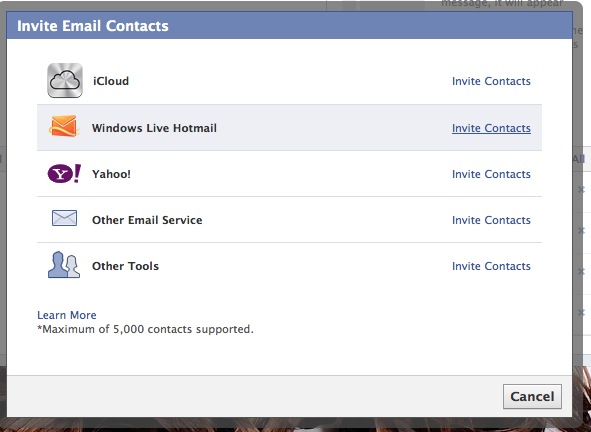
You can then import emails from a wide range of sources:
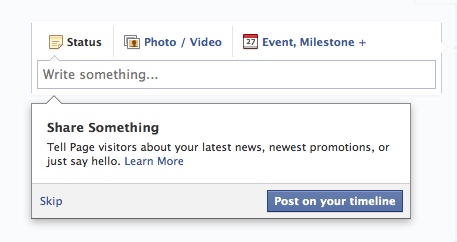
Next up, Facebook will ask you to share something on your Timeline:
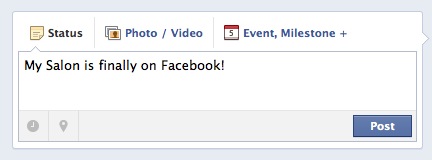
Let’s welcome the World to our new page by entering something awesome and clicking “Post”:
Now it’s time to pretty up our new page by adding a cover image.
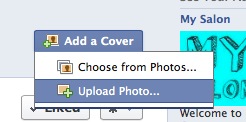
To do this, scroll up to the top and click “Add a Cover”:
Select “Upload Photo…” :
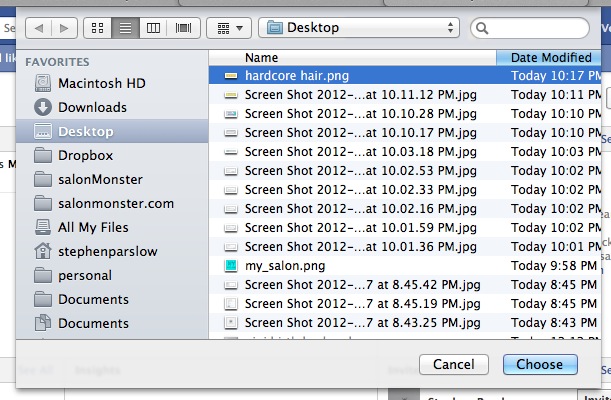
Select your chosen image and click the “Choose” button.
You can upload any large image as a cover photo, but the viewable portion of the image will be 851 pixels wide and 315 pixels tall. Make sure you use something at least this big.
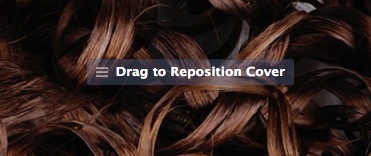
Once you image is uploaded ou can reposition it by clicking and dragging on it:
When you are done positioning the image click the “Save Changes” button.
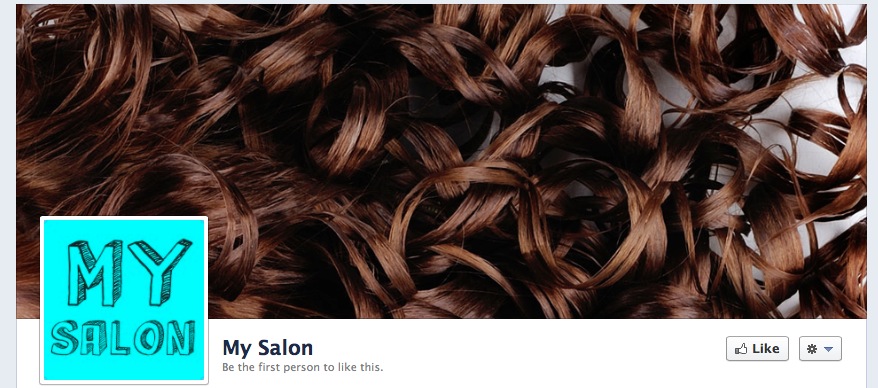
Much Better! :
Nicely done! Now you’ve got a good basic Facebook page setup.
You have:
- Created your page
- Entered your business details
- Added a profile and cover page image
- Invited Friends
- Liked your page
- Created your first post
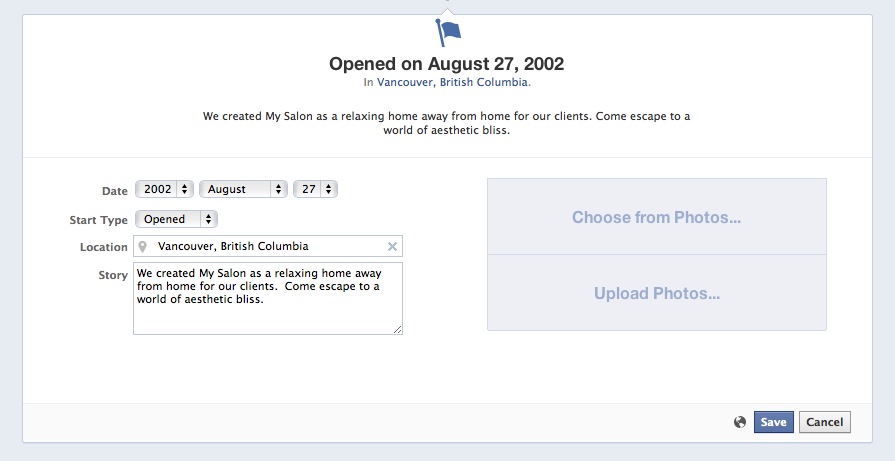
- Entered some details about when you opened and what your story is
Now it’s time to play around with it and have some fun!
Next time we’ll start to cover some good things to post on your page and ways to market to clients through Facebook.
Thanks for reading!






1 thought on “Creating a Facebook Page for your Salon”